


Why Choose Remica Lab Countertops
Counters aren’t exciting, but they take the worst of it. Glassware gets tossed down wet, machines rattle for hours, and spills happen all the time. If the surface can’t take that, the lab feels harder to run.
That’s why we don’t lead with color. We ask how the place is used. Wet lab with chemicals? Then resistance comes first. More testing, constant wipe-downs? Smooth surface. Saves hassle.
Then there’s the little stuff people forget. Edges, thickness, and cutouts for sinks or wires. Skip that early and you pay later. Better to deal with it before it’s built.
A countertop shouldn’t be something you think about. If it’s good, it just fades into the background.
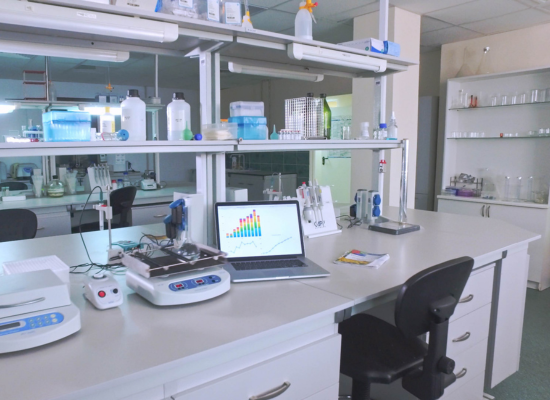
Why Your Lab Countertop Actually Matters
Most people don’t think about counters when they’re planning a lab. Honestly, why would they? It’s just a flat surface. Put it in and move on.
But a few weeks later, that “flat surface” is already driving everyone nuts. One spill left a stain that never really came out. Somebody dropped a piece of gear — now the edge has a chip. The counter’s too shallow, so the scope hangs halfway off. Annoying. And all of it could’ve been avoided.
Here’s the thing: it’s not about how it looks the day it gets installed. That’s the easy part. What matters is how it holds up after months of wipe-downs, chemical splashes, coffee mugs, and general chaos. Can it survive that? Or does it start showing wear before the semester’s even over?
And the little details — those matter more than you’d think. A corner that never scrubs clean. Splatter on the wall because nobody added a backsplash. Benches are built an inch too shallow, so equipment is always half-hanging off. Live with that for a while, and you’ll wish you had picked differently.
Get it right once and you won’t think about it again. Which is kind of the point.
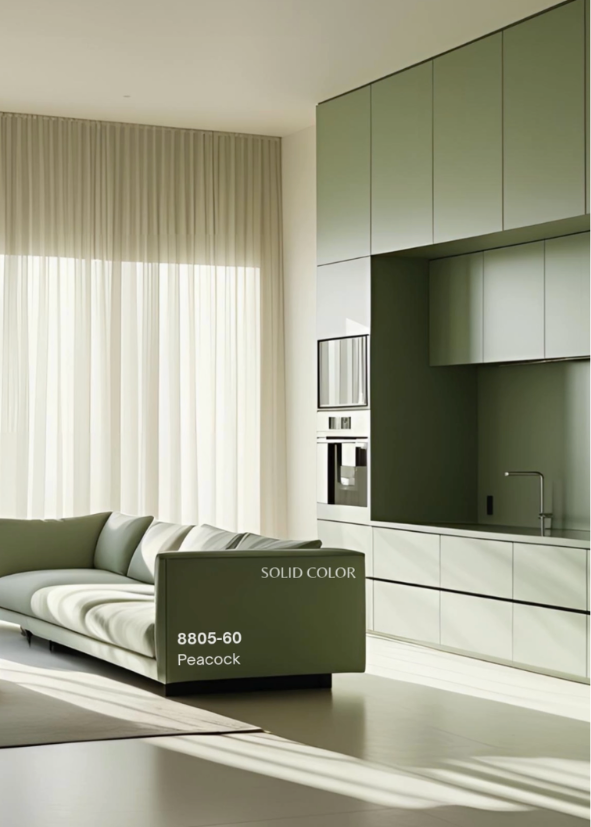
Our Material Options for Lab Countertops
Not every lab needs the same counter. Usually we end up narrowing it down to three kinds.
This is the one that gets used near sinks most of the time. Water splashes, cleaners, constant wiping, it doesn’t puff up or fall apart. I have seen cheaper boards swell within a month in that spot. This one holds up.
Certified safe for laboratory use by NSF International
This is the regular option. Most labs pick it because it is reliable and not overbuilt. Easy to wipe, looks decent, plenty of colors if that matters. Works fine for benches and side areas where the chemicals are not too harsh.
Learn more about HPL standards at the HPVA.
Different story here. If the lab has flames, big swings in humidity, or strict safety codes, this is the safer pick. It stays solid when the air is wet, does not crack when things dry out. Around burners it stays steady. It is not about style, just about not moving.
Reference: MgO Board Industry Association


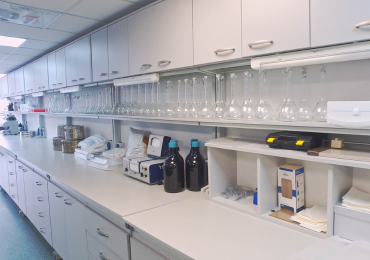
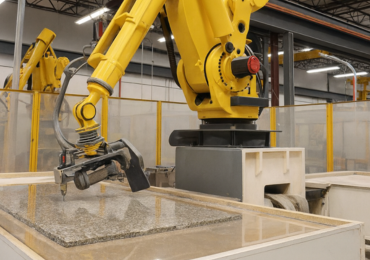



















- HPL Specification
- Compact Specification
| Length (mm) | Width (mm) | Thickness (mm) |
| 1220 | 2440 | 0.5, 0.6, 0.7, 0.8, 0.9, 1.0, 1.2 |
| 1300 | 3050 | 0.5, 0.6, 0.7, 0.8, 0.9, 1.0, 1.2 |
| 1830 | 2440 | 0.5, 0.6, 0.7, 0.8, 0.9, 1.0, 1.2 |
| 1830 | 3660 | 0.5, 0.6, 0.7, 0.8, 0.9, 1.0, 1.2 |
| 1830 | 4250 | 0.5, 0.6, 0.7, 0.8, 0.9, 1.0, 1.2 |
| Width (mm) | Length (mm) | Thickness (mm) |
| 1220 | 2440 | 2, 3, 4, 5, 6, 8, 10, 12, 16, 18 |
| 1220 | 2800 | 2, 3, 4, 5, 6, 8, 10, 12, 16, 18 |
| 1220 | 3050 | 2, 3, 4, 5, 6, 8, 10, 12, 16, 18 |
| 1300 | 3050 | 2, 3, 4, 5, 6, 8, 10, 12, 16, 18 |
| 1830 | 1830 | 2, 3, 4, 5, 6, 8, 10, 12, 16, 18 |
| 1830 | 3050 | 2, 3, 4, 5, 6, 8, 10, 12, 16, 18 |
| 1830 | 3660 | 2, 3, 4, 5, 6, 8, 10, 12, 16, 18 |
| 1830 | 4220 | 2, 3, 4, 5, 6, 8, 10, 12, 16, 18 |
Why Early Consultation Matters
A lot of people leave the counters until the end. That’s usually when the trouble starts. I’ve walked into labs on install day where the sink cutouts were two inches off, or the frame sagged the first time someone set equipment down. Fixing that on the fly is not cheap.
If we talk early, most of that gets avoided. We walk through how people move around the space, what gear is coming in, what safety rules apply, and yes, what the budget looks like. Once that’s on the table, the right surface becomes obvious.
The little details are where labs get burned. Corners that are impossible to clean, runs that sag because no brackets were added, wires snaking across a bench because nobody thought about ports. Sort it out before the build and the counter shows up ready to work. Skip it, and you end up patching problems later.
For design and planning insights, see Lab Manager’s resources
Start Your Lab Countertop Project Today
Got a sketch or some quick measurements? Send them over. We’ll cut to fit the space you actually have.
If the lab needs more muscle — heavy gear, long runs, tricky cutouts — we plan for it in the build. Better to deal with that now than fight with it after install.
Once the details are set, we move. Counters are built, shipped, and ready to go. No dragging it out.
 English
  Russian
  Spanish
  Arabic
  German
  Chinese
  Thai
Thai  Vietnamese
  Italian
  French
  Portuguese
  Turkish
  Korean